How to Make a Faux Flower Wedding Bouquet That Looks Real
💐 Create your dream wedding bouquet with lifelike faux flowers! Learn step-by-step how to design a stunning arrangement that’s budget-friendly, timeless, and uniquely yours. 🌿✨ Perfect for DIY brides who want beauty that lasts forever.
HOLIDAYS AND SPECIAL OCCASSIONS
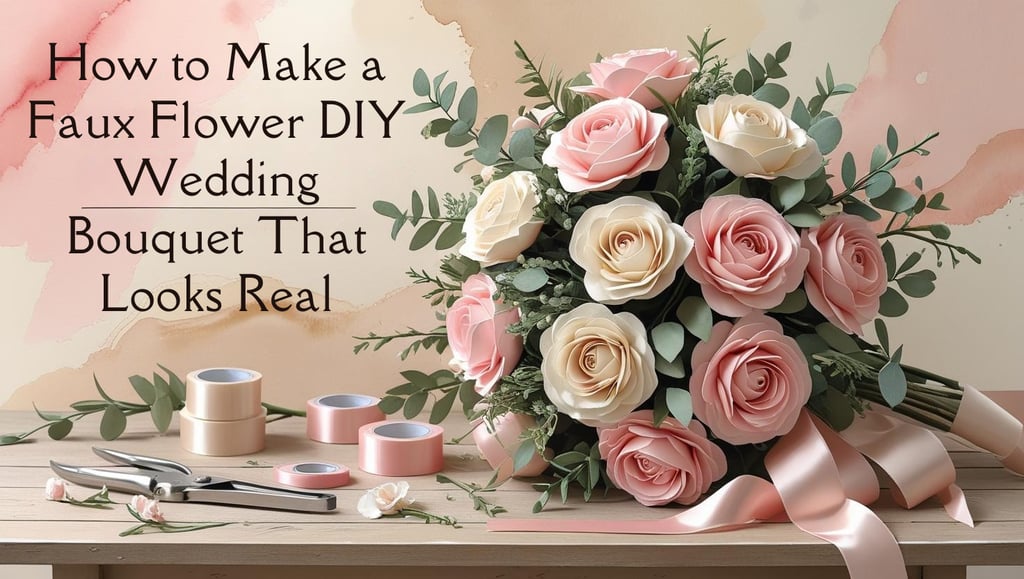
How to Make a Faux Flower DIY Wedding Bouquet That Looks Real
Creating your own wedding bouquet is a fun, budget-friendly way to add a personal touch to your big day. Faux flowers offer the perfect blend of beauty and practicality—plus, they’ll last forever! 🌸 Here’s how you can craft a stunning bouquet that looks just like fresh blooms.
This post contains affiliate links. If you make a purchase through these links, I may earn a small commission at no additional cost to you. Thank you for supporting my blog!
Materials Needed
Before you start, gather these essential tools and materials:
Flowers and Greenery
High-Quality Faux Roses– Perfect for creating a romantic focal point.
Realistic Faux Peonies – Add fullness and texture to your bouquet.
Artificial Eucalyptus Stems – For a touch of greenery and a natural vibe.
Tools and Supplies
Wire Cutters – For trimming stems to the right length.
Floral Tape – Keeps your bouquet secure and neat.
Hot Glue Gun – To attach embellishments and secure ribbons.
Satin Ribbon – Choose from classic white, blush pink, or champagne tones.
Decorative Pins – Add a touch of elegance to your handle.
Pearl Embellishments – Optional for extra sparkle.
Floral-Scented Spray – To give your bouquet a fresh, natural aroma.
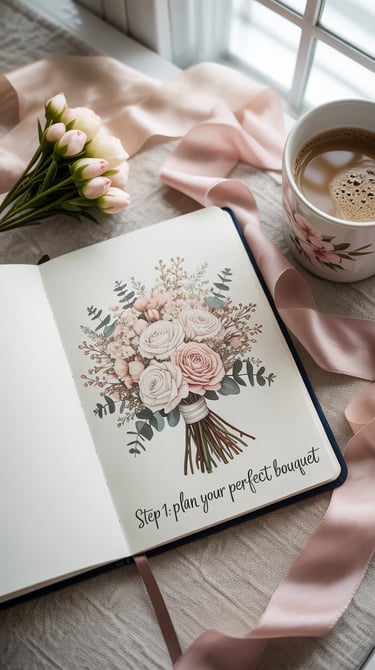
Step 1: Plan Your Design
Start by envisioning your bouquet.
Tips
Decide on a shape: Round bouquets are timeless, while cascading ones are dramatic.
Pick a color scheme: Neutral tones like blush, white, and green create a romantic vibe, while bold colors add flair.
Sketch your layout to stay organized.
✨ Picture This: A mood board with color swatches, flower types, and ribbon samples neatly arranged on a rustic wooden table.
Faux Flower Variety Packs – Perfect for experimenting with different designs.

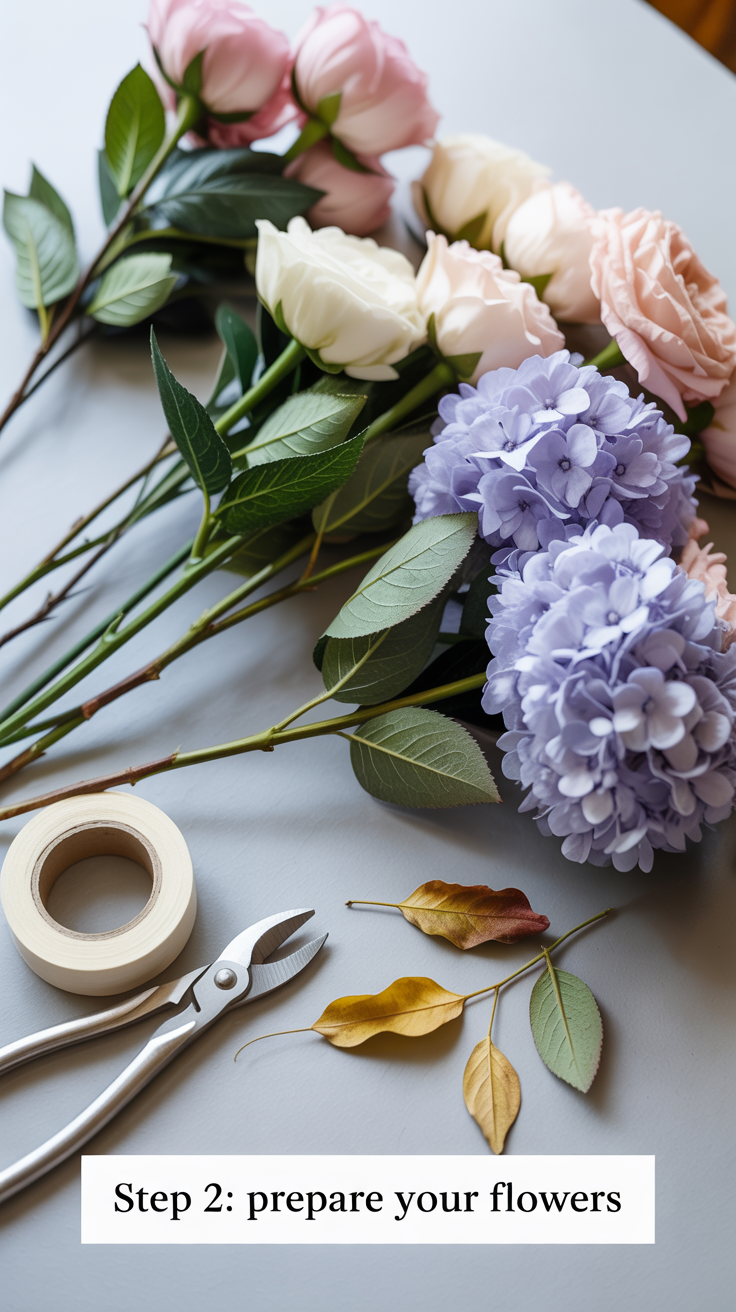
Step 2: Prepare the Flowers
Prep your flowers to make assembly seamless.
How-To
Use wire cutters to trim stems to your desired length (8–10 inches).
Remove excess leaves to reduce clutter.
Shape the petals gently for a more natural look.
✨ Picture This: A clean workspace with trimmed flower stems in soft hues, wire cutters, and greenery neatly arranged.
Greenery Packs – Add lush, realistic accents to your bouquet.

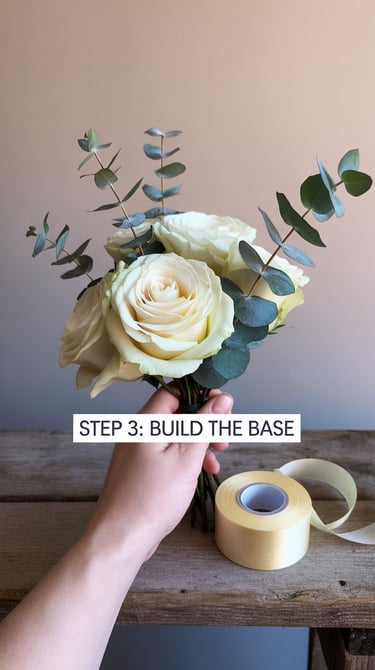
Step 3: Build the Base of Your Bouquet
Begin assembling your bouquet with focal flowers.
How-To
Hold three large focal flowers together to form the center.
Add greenery around the edges.
Secure with floral tape to keep everything in place.
✨ Picture This: A budding bouquet with ivory roses and eucalyptus stems, loosely held together on a light beige background.

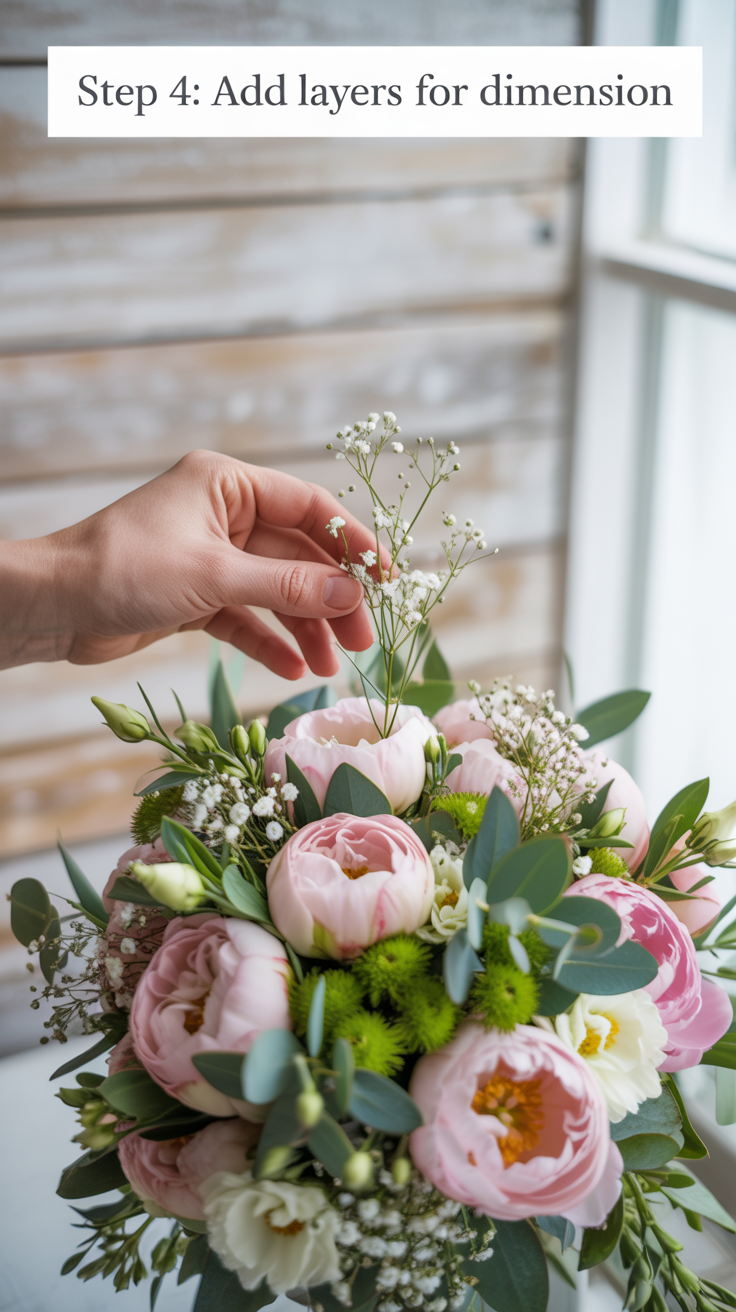
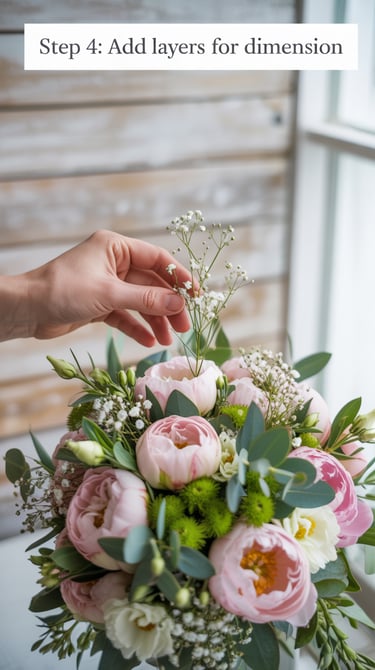
Step 4: Add Layers for Depth and Dimension
Layering creates a lush, natural appearance.
How-To
Alternate between large and small faux flowers.
Fill gaps with filler flowers like baby’s breath and greenery.
Step back to check for balance and adjust as needed.
✨ Picture This: A full bouquet with cascading greenery and pops of white and blush, styled on a wooden table with soft natural light.
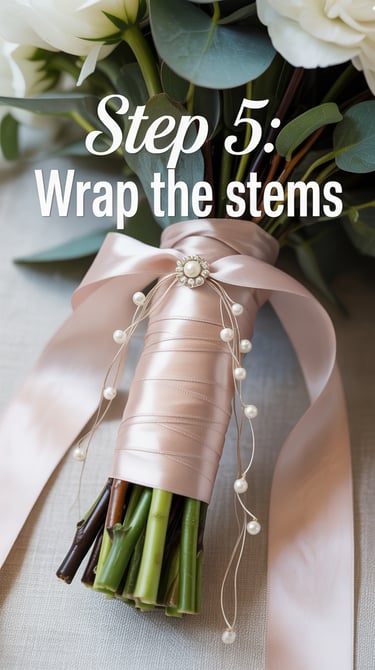
Step 5: Wrap the Stems for a Polished Look
Give your bouquet a professional finish.
How-To
Wrap floral tape tightly around the stems.
Cover the tape with satin ribbon in your preferred color.
Secure the ends with hot glue or decorative pins.
✨ Picture This: A bouquet handle wrapped in blush satin ribbon, finished with pearl accents and delicate trailing ribbons.

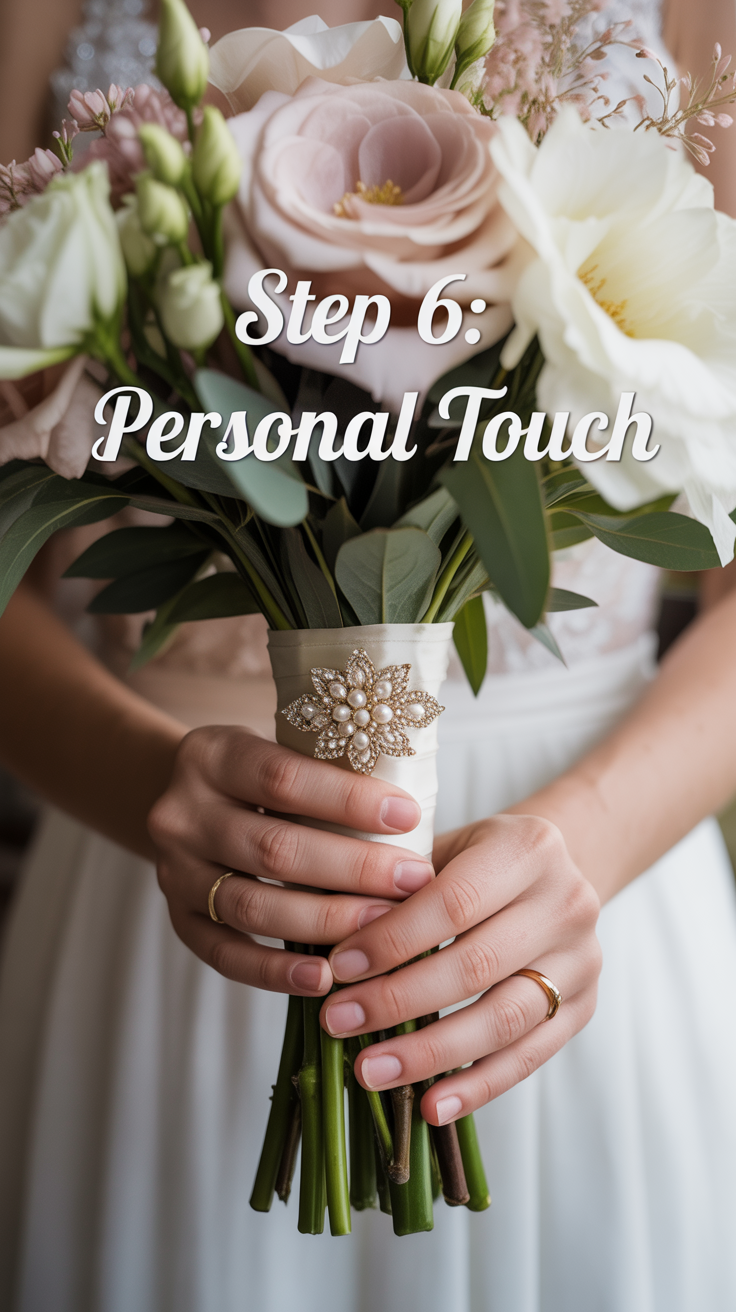
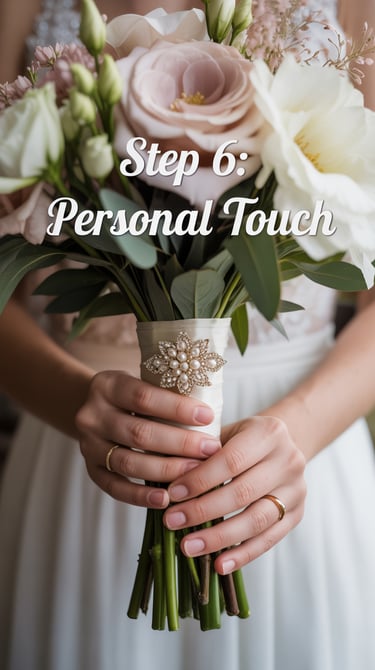
Step 6: Embellish with Personal Touches
Add details that reflect your style.
Ideas
Attach a vintage brooch or locket charm to the ribbon.
Incorporate faux berries or crystals for sparkle.
Use charms that match your wedding theme.
✨ Picture This: A close-up of a bouquet with a pearl-studded brooch pinned to the handle, surrounded by blush and ivory blooms.
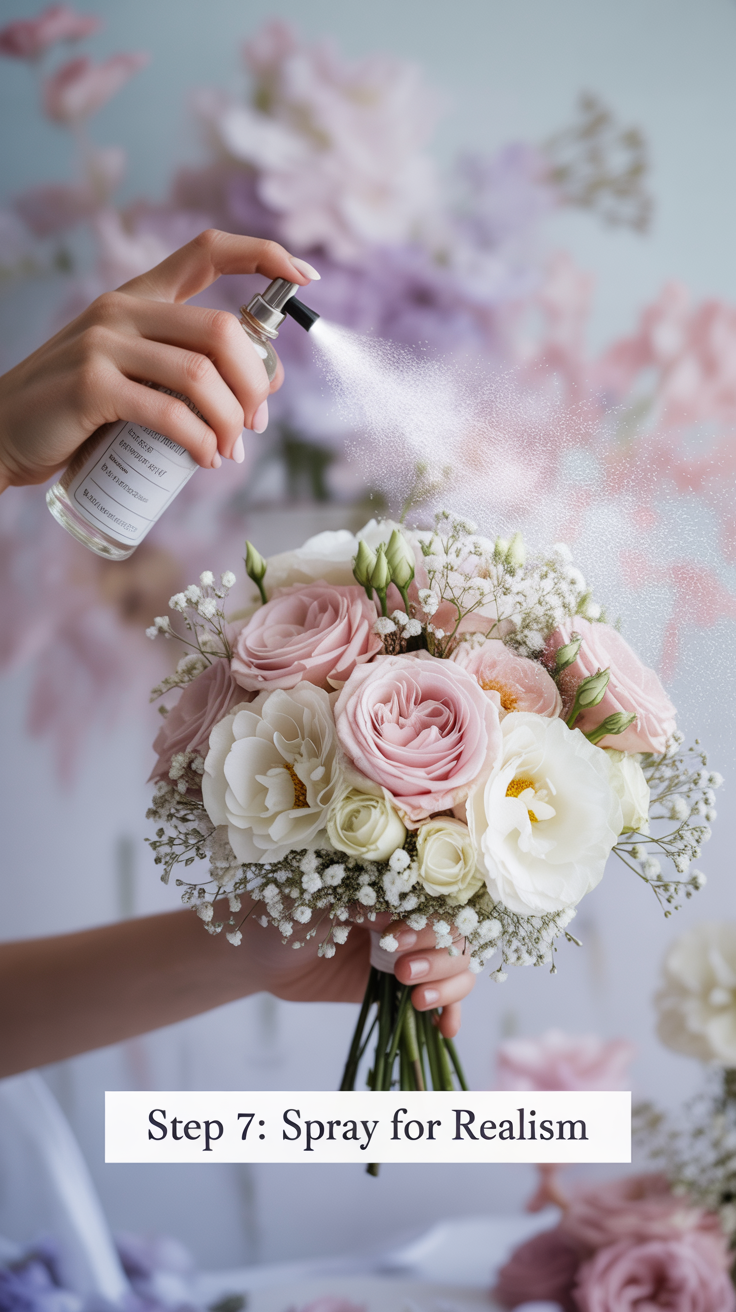
Step 7: Spray for Realism
Finish with a light mist of floral-scented spray for that fresh-cut flower feel.
✨ Picture This: A spritz bottle adding a dewy finish to the completed bouquet, framed by a soft blush gradient.

FINal Thoughts
💐 Crafting a faux flower bouquet is a rewarding and creative way to save money while adding a personal touch to your wedding day. With a little effort, you can make an arrangement that looks just as stunning as fresh blooms and lasts as a cherished keepsake.